Table of Contents
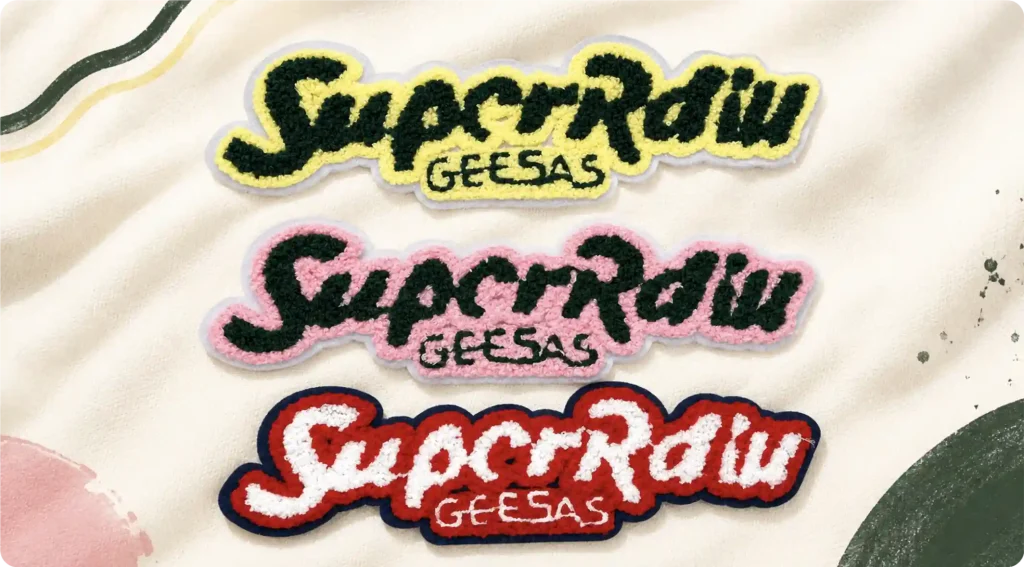
Chenille patches are instantly recognizable by their soft, raised texture and bold varsity-style look. You’ll often see them on letterman jackets, team apparel, sweaters, hats, and bags, especially when a design needs to feel thick, classic, and eye-catching.
But that fluffy surface doesn’t happen by accident. In this guide, we’ll break down how chenille patches are made, from preparing the artwork and choosing materials to stitching, backing, cutting, and final quality checks.
What Are Chenille Patches?
Chenille patches have a soft, fuzzy surface that sits higher than a regular embroidered patch. In the patch industry, this style is often grouped with towel embroidery or chenille embroidery because of its plush, looped texture.
Most chenille patches are made with chenille yarn stitched onto a felt base, which gives the patch its thick, dimensional look. This style works best for bold letters, numbers, simple shapes, and vintage-inspired designs where texture matters more than tiny details.
The word “chenille” comes from French and is linked to the meaning “caterpillar,” a fitting name for the soft, fuzzy feel these patches are known for.
Features of Chenille Patches
- Full, Raised Texture: The thick yarn creates a raised surface that gives the design more depth than flat or standard embroidered styles.
- Soft Plush Feel: The surface has a soft, towel-like touch, making it suitable for apparel, hats, bags, and everyday accessories.
- Bold Visual Effect: Large letters, numbers, mascots, and simple shapes stand out well because of the fluffy yarn and strong color contrast.
- Comfortable for Daily Use: The plush surface feels softer than many traditional patch styles and works well on jackets, hoodies, uniforms, and bags.
- Vintage Varsity Style: This patch style naturally gives a classic letterman, school team, sportswear, and streetwear-inspired look.
- Strong and Long-Lasting: With a felt base and secure stitching, the patch keeps its shape and stays firmly attached when applied properly.
- Thicker, More Layered Look: Compared with printed or thin fabric patches, it creates a heavier and more dimensional appearance.
How to Make Chenille Patches
Making chenille patches is simple when you follow VeperPins’ four-step process.
Please note that this method is for custom patch orders, not for making chenille patches at home.
1. Send Your Design Idea
You can send us your logo, letters, numbers, sketch, or reference image. If you do not have a complete artwork file yet, a rough idea is also fine.
Chenille works best for bold letters, numbers, mascots, and simple shapes. Very small text, thin lines, or complex logos may need to be adjusted or combined with embroidery so the final patch looks clearer.
2. Confirm the Patch Details
Next, we confirm the size, shape, colors, border, and backing.
The best choice depends on how you plan to use the patch. For example, chenille patches for jackets are usually made larger and are often better with sew-on backing. For hats, bags, or short-term events, a different size or backing option may be more suitable.
Common backing options include sew-on, iron-on, Velcro, and adhesive backing.
3. Approve the Digital Proof
Before production, we will send you a digital proof for approval. You can check whether the text, colors, size, shape, and backing are correct.
After approval, the chenille areas are made with soft yarn to create a raised, fuzzy texture. Borders, outlines, and small details can also be combined with regular embroidery to make the patch look cleaner and more defined.
4. Production and Shipping
After stitching, the patches are cut into shape and checked for quality.
We check the chenille texture, edges, colors, stitching, and backing. Once everything looks good, the patches are packed and shipped.
After receiving them, you can use your chenille patches on jackets, hoodies, hats, bags, uniforms, or brand merch.
Can I Make Chenille Patches at Home?
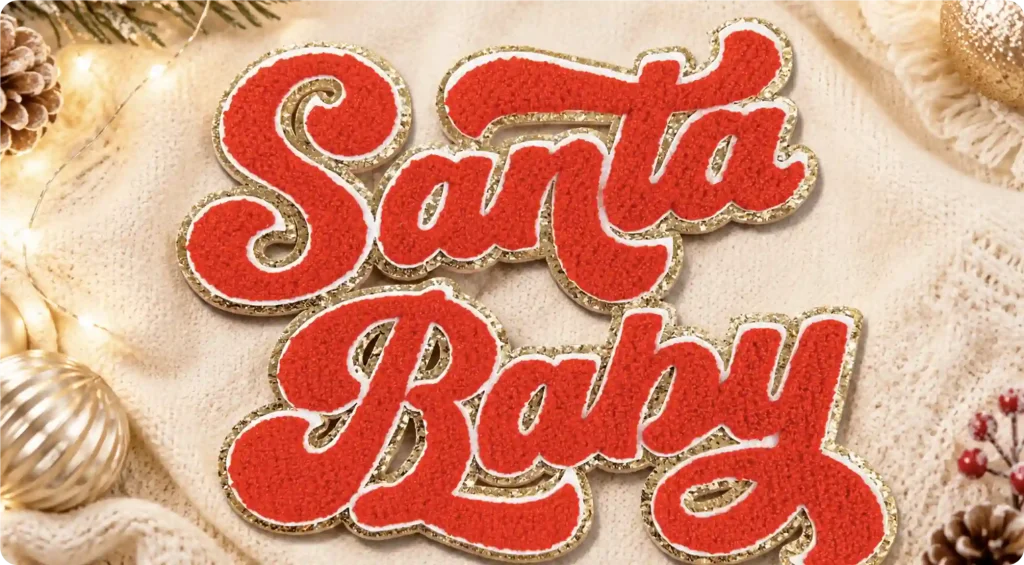
Yes, you can try making patches with a similar chenille look at home. Different methods require different tools, and the final effect will not be exactly the same.
1. Layered Fabric Method
This method is suitable if you have a regular sewing machine or want to try a handmade approach.
Steps:
- Prepare a piece of felt as the base.
- Layer 4 to 6 pieces of flannel or cotton fabric on top.
- Draw your design outline on the top layer.
- Sew rows of stitches inside the design to hold the fabric in place.
- Carefully cut through the upper fabric layers, but do not cut the felt base.
- Brush the cut edges, or wash and dry the piece to make the fabric fluff up.
- Trim around the design to create the final patch shape.
This method works best for simple letters, numbers, and bold shapes, but the details will not be as clear as factory-made chenille patches.
2. Yarn Couching Method
This method is suitable if you have a home embroidery machine.
Steps:
- Prepare the base fabric and chenille yarn or thick yarn.
- Install the couching foot on your embroidery machine.
- Guide the yarn through the machine’s yarn guide.
- Use a design file made for couching.
- Let the machine stitch the yarn onto the base fabric.
- Add embroidery for the border or small details.
- Trim the extra threads and cut the patch into its final shape.
This method creates a stronger raised texture and looks closer to a real chenille patch, but it requires an embroidery machine and the right design file.
3. Flock Heat Transfer Method
This method is suitable if you do not want to sew and want a quicker option.
Steps:
- Prepare flock heat transfer vinyl, felt backing, and a cutting machine.
- Cut your letters, numbers, or design with the cutting machine.
- Weed away the extra vinyl and keep only the design.
- Place the design on the felt backing.
- Press it with an iron or heat press.
- Let it cool, then peel off the carrier sheet.
- Trim around the design to create the patch shape.
This is the fastest and easiest method, but it only creates a chenille-like look. It is not real chenille embroidery and is better for crafts, samples, or temporary projects.
DIY vs. Factory-Made Chenille Patches
Home methods are fine for small DIY projects, handmade decorations, or simple tests. If you need real chenille texture, cleaner artwork, neat edges, and stable quality for bulk orders, professional custom chenille patch production is the better choice.
Start Your Custom Chenille Patch
This guide gives you a clear idea of what you can try at home and when it makes sense to choose professional production.
DIY methods are useful for small personal projects, but they are limited in detail, durability, and consistency. For school jackets, team uniforms, brand merch, or event patches, VeperPins can help turn your idea into finished patches with cleaner artwork, proper backing, and stable bulk quality.


