Table of Contents
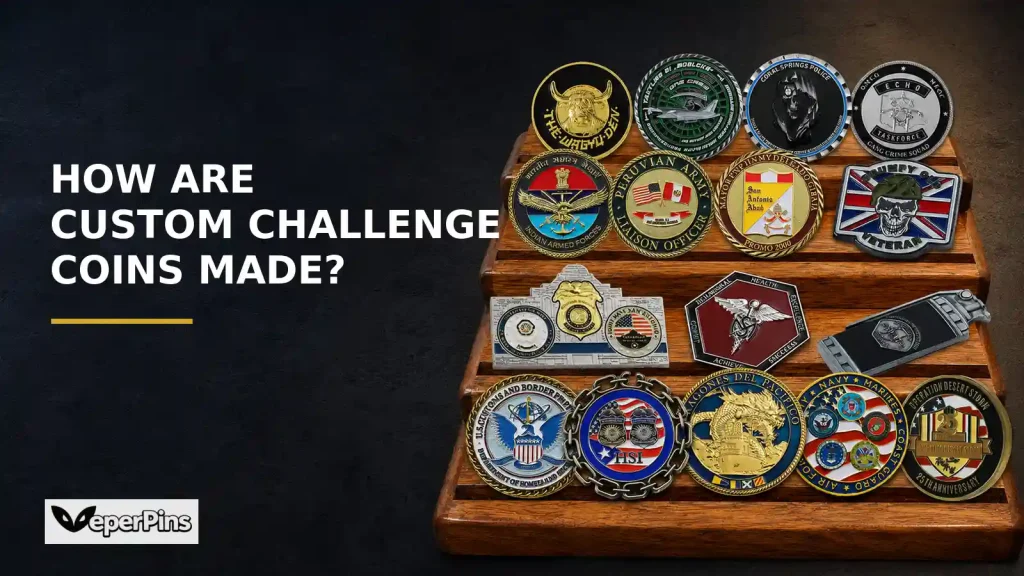
Ever wondered how a challenge coin goes from a design on a screen to a finished piece you can hold in your hand?
It takes more than simply stamping a logo onto metal. Every coin goes through several stages, including mold making, metal forming, edge finishing, plating, coloring, inspection, and packaging.
In this guide, we’ll take you through the full production process, from the moment the artwork is approved to the moment the finished coins are packed and ready to ship.
Step 1: Making the Mold
Once the artwork is approved, our mold team starts preparing the tools needed for production.
The approved design is first converted into a production file using CAD software. At this stage, we set the size, thickness, relief height, and smaller details. That file is then sent to the CAM system, which controls the CNC machine as it cuts the mold.
For brass die-struck coins, a high-speed cutting tool carves the design in reverse into a solid block of steel. Since most designs have artwork on both sides, separate molds are made for the front and back.
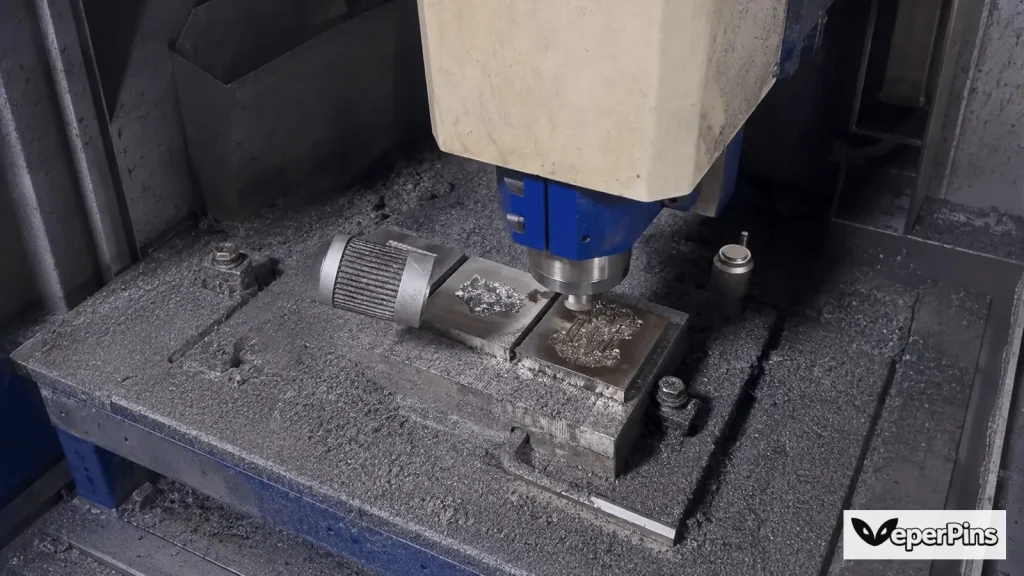
Zinc alloy coins require a die-casting mold. Along with the artwork itself, the mold includes channels for the molten metal and vents that help it flow into every part of the cavity.
Once the molds are finished, we inspect and test them. Brass striking dies also go through heat treatment, which makes the steel hard enough to handle the pressure used during production.
A good mold makes a big difference. If the lettering, lines, or relief are not clean at this stage, they will not come out clean on the finished piece either.
Step 2: Forming the Metal
Once the molds are ready, metal forming begins. Brass and zinc alloy are handled differently.
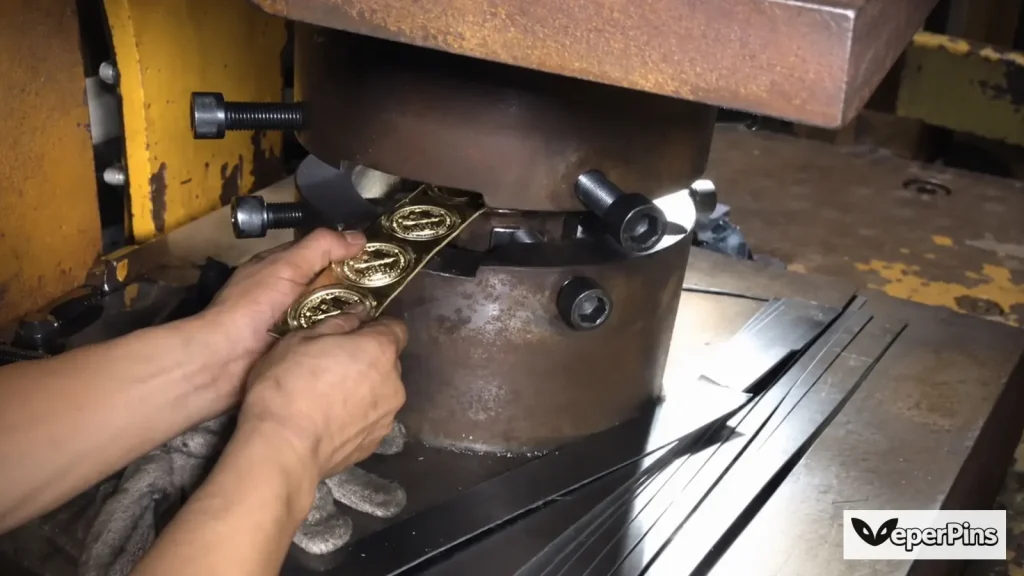
Brass coins are made by die striking. We prepare brass blanks in the correct size, place them between the front and back dies, and use a press to stamp the design into the metal.
Round designs can be made from standard circular blanks. For custom shapes, the artwork is struck first, and each piece is then cut to its final outline.
Zinc alloy coins are made by die casting. The metal is melted and injected into the mold, where the shape, artwork, and relief form as it cools.
Freshly cast pieces are still attached to gates and extra metal. Those areas are trimmed away before the next step.
Brass is often used for traditional round designs, badges, and lettering-heavy artwork. Zinc alloy works better for cutouts, unusual shapes, and deeper 3D details.
Step 3: Edge Finishing and Surface Smoothing
After striking or casting, the edges may still have flash, casting gates, extra metal, or small areas of distortion. We remove those first so the shape looks clean and the edges feel smooth in the hand.
If the design includes a bevel edge, rope edge, reeded edge, or another decorative finish, it is also worked on during this stage.
Some edge details have to be cut one piece at a time. For certain patterns, the coin is placed on rotating equipment while a worker carefully cuts around the edge. Diamond-cut edges may be added before or after plating, depending on the base metal and the finish being created.
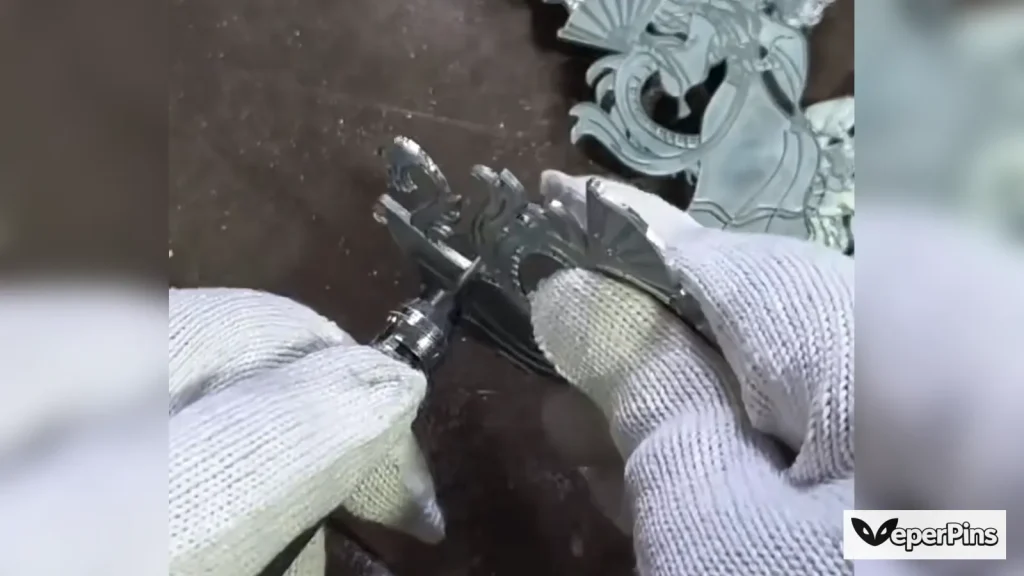
Next comes deburring. Small metal burrs can remain around lettering, recessed details, and the outer edge. They may be difficult to see, but they can affect the feel of the finished product and cause problems later during plating or coloring.
For larger orders, the pieces are placed in a tumbling machine with abrasive media. As the machine turns, the media wears down rough spots and small burrs. Areas the tumbler cannot reach are finished by hand.
The surface is then smoothed to reduce light scratches and marks left during production. This is not the final mirror polish. The goal is simply to create an even metal surface before plating and coloring.
The cleaner the base surface is, the better the final finish will look.
Step 4: Plating and Metal Finishing
After the unfinished pieces have been trimmed and smoothed, we apply the metal finish shown in the approved artwork.
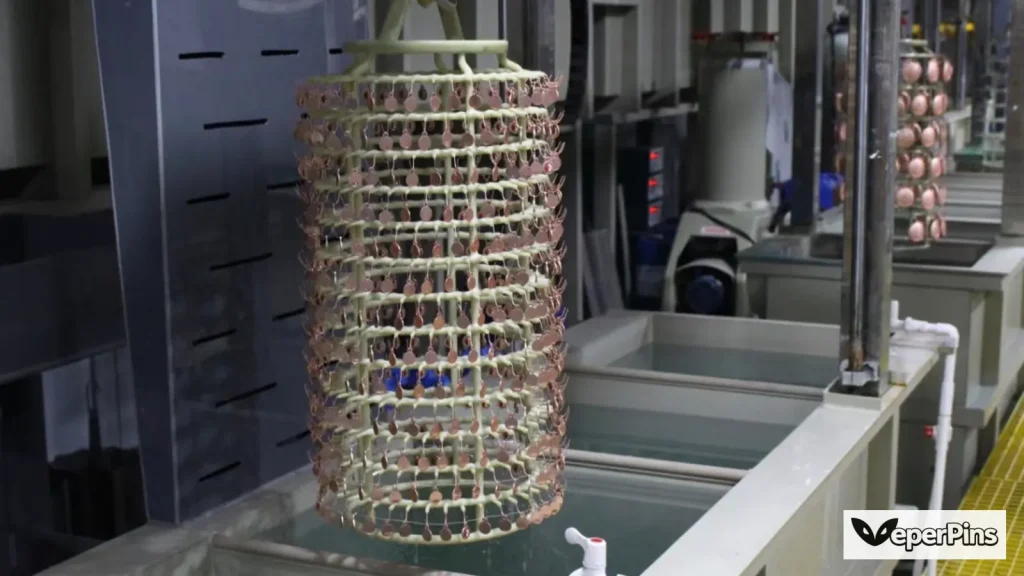
Before plating, they are cleaned to remove oil, metal dust, and polishing residue. They are then attached to racks and lowered into the correct plating bath.
A thin layer of gold, silver, nickel, copper, or another metal finish is added to the surface. This creates the final metal color and also helps improve durability and corrosion resistance.
Common finishes include polished gold, polished silver, black nickel, antique gold, antique silver, antique bronze, and matte finishes.
Antique finishes require an additional treatment. Dark color is left in the recessed areas and around the lettering, while the raised surfaces are polished. This brings out the relief and makes smaller details easier to see.
For two-tone finishes, we may use masking, selective plating, a second plating process, or cutting after plating.
A single design might combine gold and silver, or polished nickel with antique bronze. The method we use depends on the base metal, the relief, and where each finish appears.
Step 5: Enamel Coloring or UV Printing
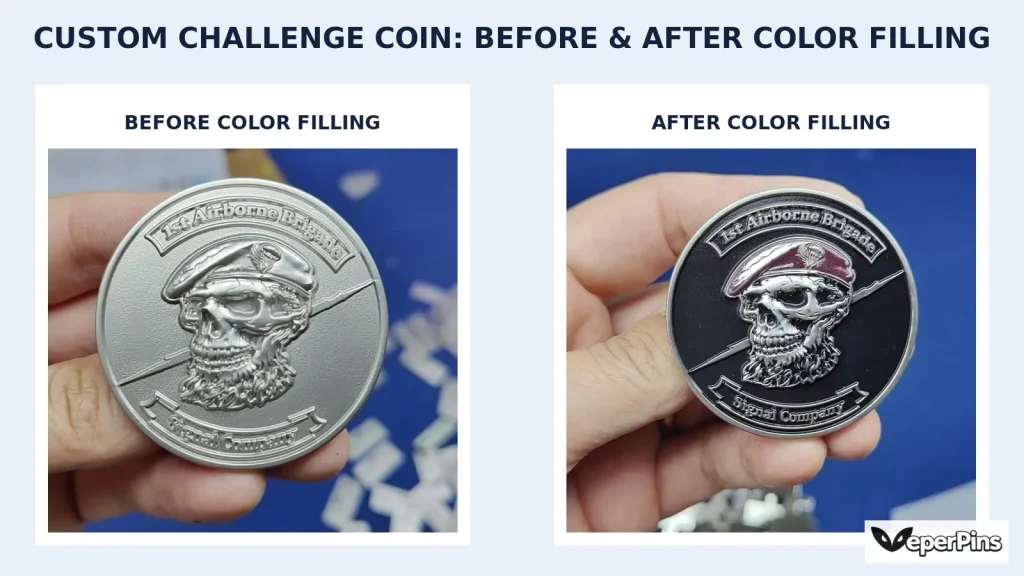
After plating, we add color based on the approved artwork.
For soft enamel, color is filled into the recessed areas by machine or by hand. Larger sections can usually be filled automatically, while small lettering, sharp corners, and detailed areas may need hand filling.
Once all colors are in place, the coins are baked in an oven to cure the enamel. The raised metal lines remain slightly higher than the colored areas, giving soft enamel its textured finish. Each coin is then checked for missing color, overflow, bubbles, or uneven filling.
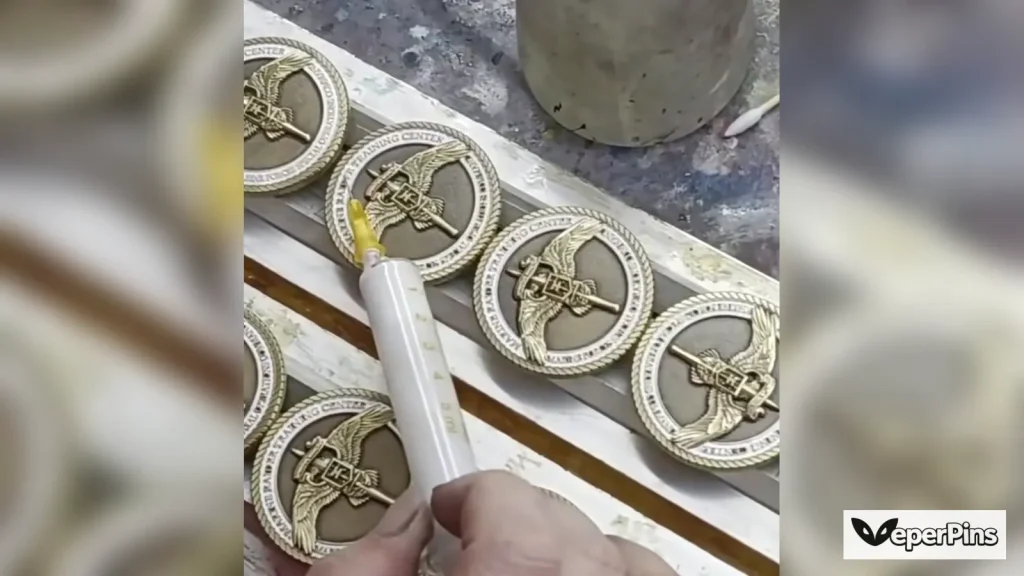
Hard enamel follows a different process. The color is filled slightly above the metal lines and baked to cure. The surface is then ground and polished until the enamel is nearly level with the metal, creating a smooth finish.
For gradients, shadows, photographs, very small text, or color printed directly over raised 3D details, we usually use UV printing. It can reproduce full-color artwork without separating every color with metal lines. A clear protective coating may also be added to reduce wear.
Step 6: Laser Engraving and Additional Features
If the design calls for names, dates, serial numbers, department numbers, or other details that change from piece to piece, we add them near the end of production using laser engraving.
Laser engraving can be placed on the front, back, or edge. It is especially useful for sequential numbering and small text that would be difficult to include in the mold.
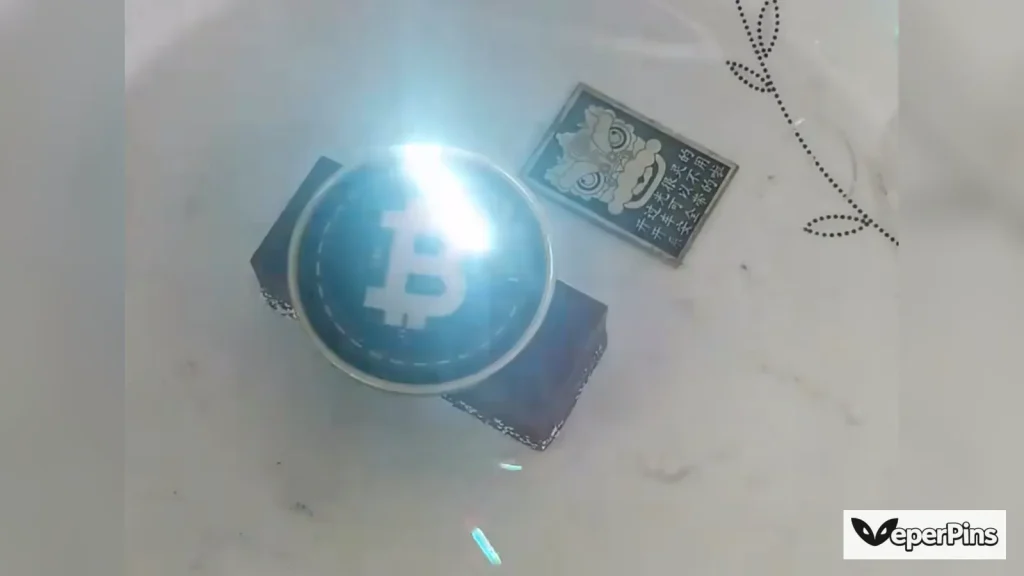
For example, every piece in the order can carry a different name, or the batch can be numbered 001, 002, 003, and so on.
Other features may also be added at this stage, including epoxy coatings, transparent enamel, glow-in-the-dark color, spinning parts, and other special effects.
If the design includes moving or assembled components, those parts are installed and tested before final inspection.
At this point, production is nearly finished.
Step 7: Quality Inspection and Packaging
Once the full order is complete, our quality control team checks everything against the approved artwork and order specifications.
We inspect the size, thickness, lettering, relief, enamel colors, plating, edges, laser engraving, and overall appearance.
Special features are tested as well. This may include spinning sections, bottle opener functions, cutouts, or other working parts.
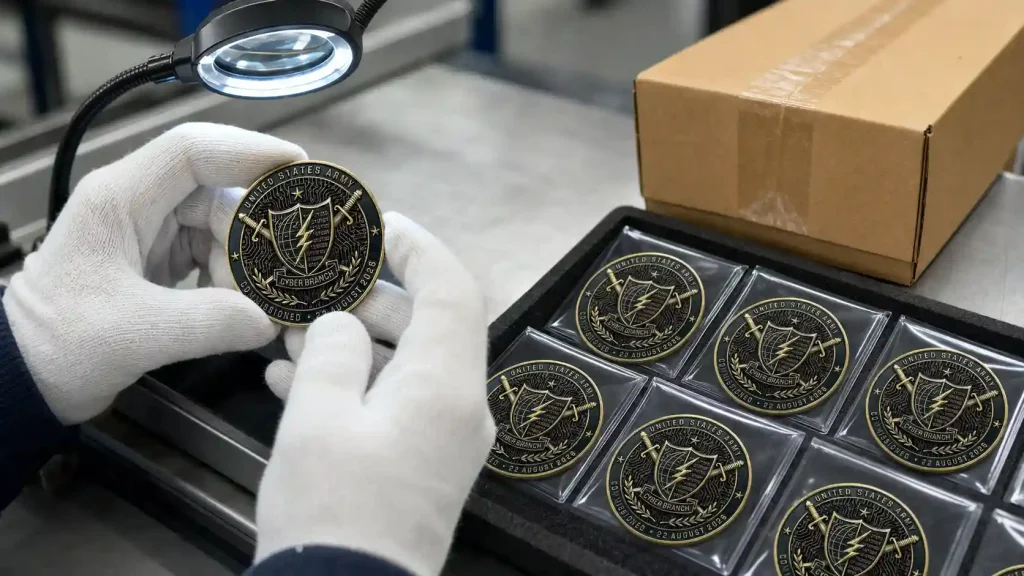
Pieces with missing color, enamel overflow, visible scratches, uneven plating, damaged edges, incorrect lettering, or repeated serial numbers are removed before packaging.
After inspection, the finished order is packed using the selected packaging. Options may include individual poly bags, velvet pouches, plastic cases, acrylic cases, or presentation boxes.
Once everything is packed, the order is placed into shipping cartons and sent out.
Can I Make My Own Challenge Coin?
If you mean making the entire coin at home—from creating the mold to striking or casting the metal, plating, and adding enamel—it is not very practical. Most of these steps require industrial equipment, custom tooling, and experienced production workers.
What you can do is create the idea and design. Send us your logo, text, sketch, or reference images, and we can turn them into production-ready artwork.
You do not need to be part of the military, government, or law enforcement to order challenge coins either. We also make them for businesses, schools, clubs, sports teams, events, and individuals.
They can be used for employee awards, anniversaries, brand promotions, weddings, family reunions, or almost any occasion worth remembering.
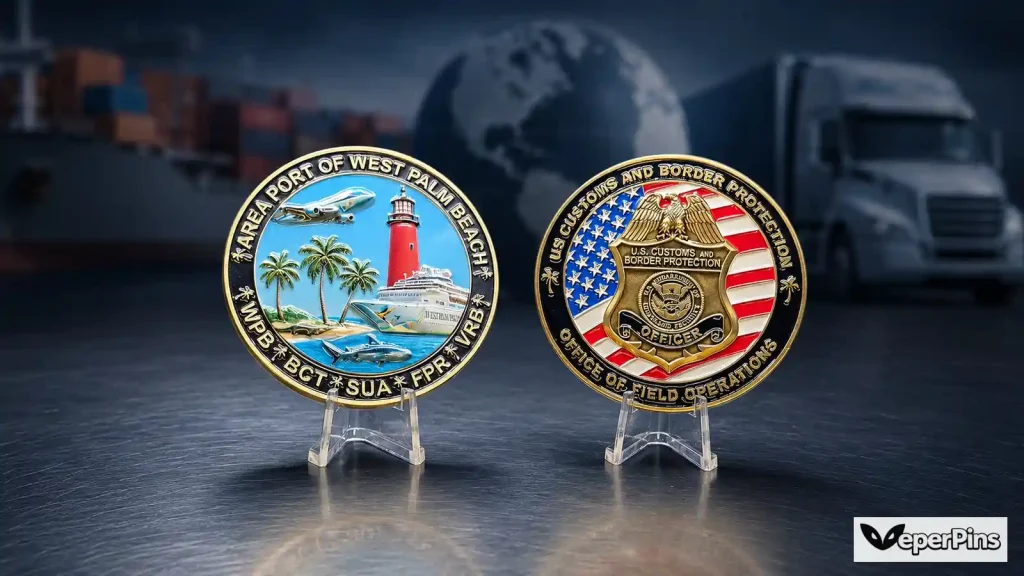
Custom Challenge Coins from VeperPins
So, now that you have seen the full production process, are you starting to picture what your own challenge coin could look like?
VeperPins makes it easy to order custom challenge coins in bulk. Whether your design is round, custom-shaped, deeply 3D, fully colored, or finished with two-tone plating, we can choose the right production method and bring the details to life.
Contact us today and send over your logo, sketch, or design idea to receive free artwork and a quote. Bulk orders may qualify for savings of up to 40%.