Table of Contents
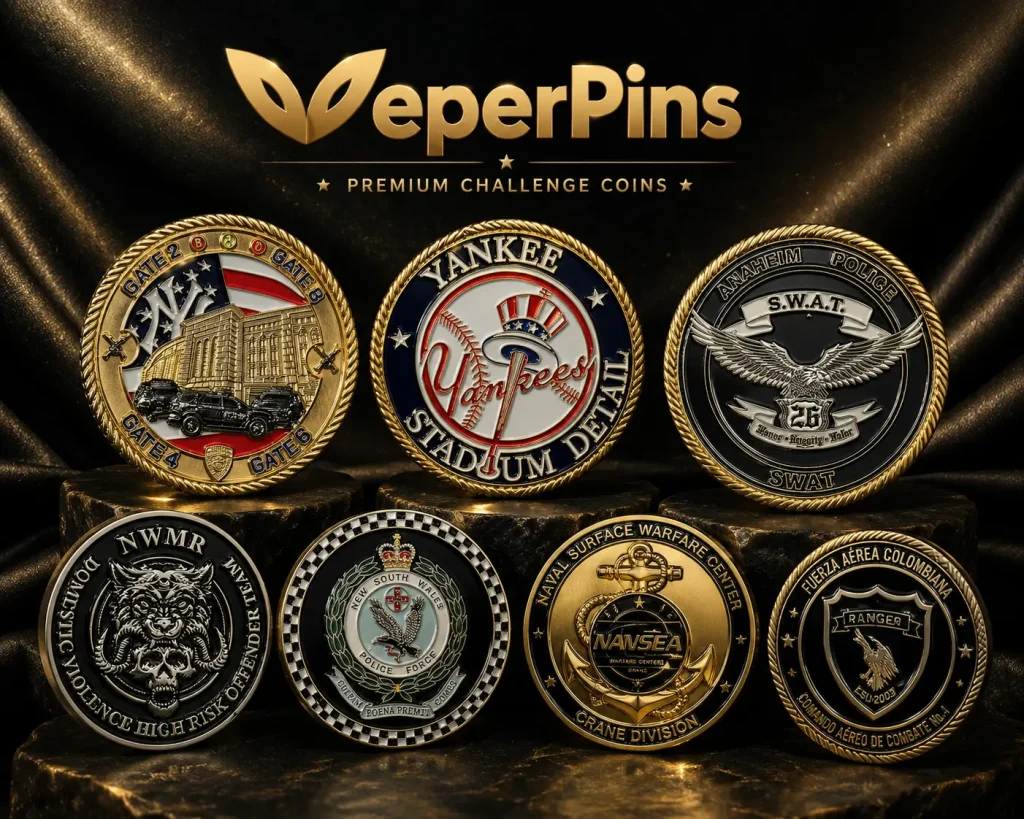
Designing custom challenge coins is an exciting process, but creating a coin that looks impressive, feels durable, and leaves a lasting impression requires careful planning. Before starting your coin design, you need to think about the overall style, size, thickness, plating finish, colors, front and back layout, and whether your coin should include 2D, 3D, enamel colors, UV printing, or other special effects.
The good news is that the process does not have to feel complicated. With rich experience in custom challenge coin production, VeperPins can help you turn an idea, sketch, logo, or reference image into a polished and production-ready design. By the end of this guide, you will have a clearer understanding of how to design a custom challenge coin that is meaningful, attractive, and practical to manufacture.
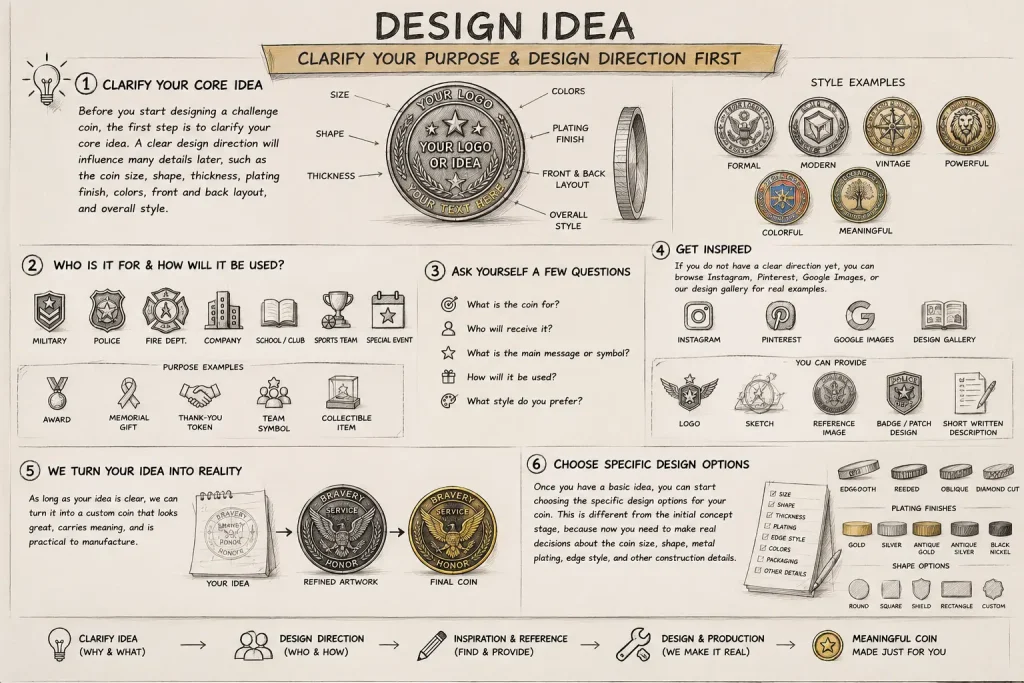
Step 1: Start With a Unique Idea
A custom challenge coin usually starts with one clear idea. First, think about what the coin should represent.
It could honor a military unit, mark a mission, celebrate a promotion or retirement, or serve as a keepsake for a company, school, club, or organization.
Once you have the main idea, you can build the design around a few simple questions:
- Who is it for?
A military unit, department, company, school, team, club, or organization. - What does it commemorate?
A completed mission, retirement, promotion, graduation, anniversary, event, or team achievement. - What elements should be included?
A logo, crest, battalion crest, branch symbol, mascot, motto, date, location, name, or rank. - How should the front and back be arranged?
The front can feature the main logo or key artwork, while the back can include text, dates, ranks, location, or a special message.
Not sure what would look best yet? That’s completely fine. You can browse our coin gallery for ideas, look through Instagram or Reddit for inspiration, or simply contact us through the form below.

Tell us what the coin is for, what elements you want to include, and your general style preference. We’ll help you turn it into a coin design that makes sense.
Step 2: Choose Your Coin Design Options
Once you have a general idea for your coin, the next step is choosing the details: size, shape, material, thickness, finish, and any special effects. VeperPins can help match the right options to your artwork and budget.
1. Size and Shape
Size mainly affects two things: whether the design feels too crowded, and whether the text is easy to read.
If your design is simple, such as a logo, crest, and a few lines of text, 1.75 inches is usually a good choice. It is a classic challenge coin size and feels balanced in the hand.
If your coin has a lot of text, artwork on both sides, edge text, a detailed crest, or 3D relief, 2 inches or larger is usually better. The extra space helps the layout breathe and keeps the details easier to see.
For a simple mark, small logo, or golf ball marker, 1.5 inches can work.
For a display coin, medal-style coin, or collector piece, 2.5 inches or larger may be a better fit.
For the shape, round coins are the safest and most traditional choice. They work well for military units, police departments, fire departments, company gifts, and event coins.
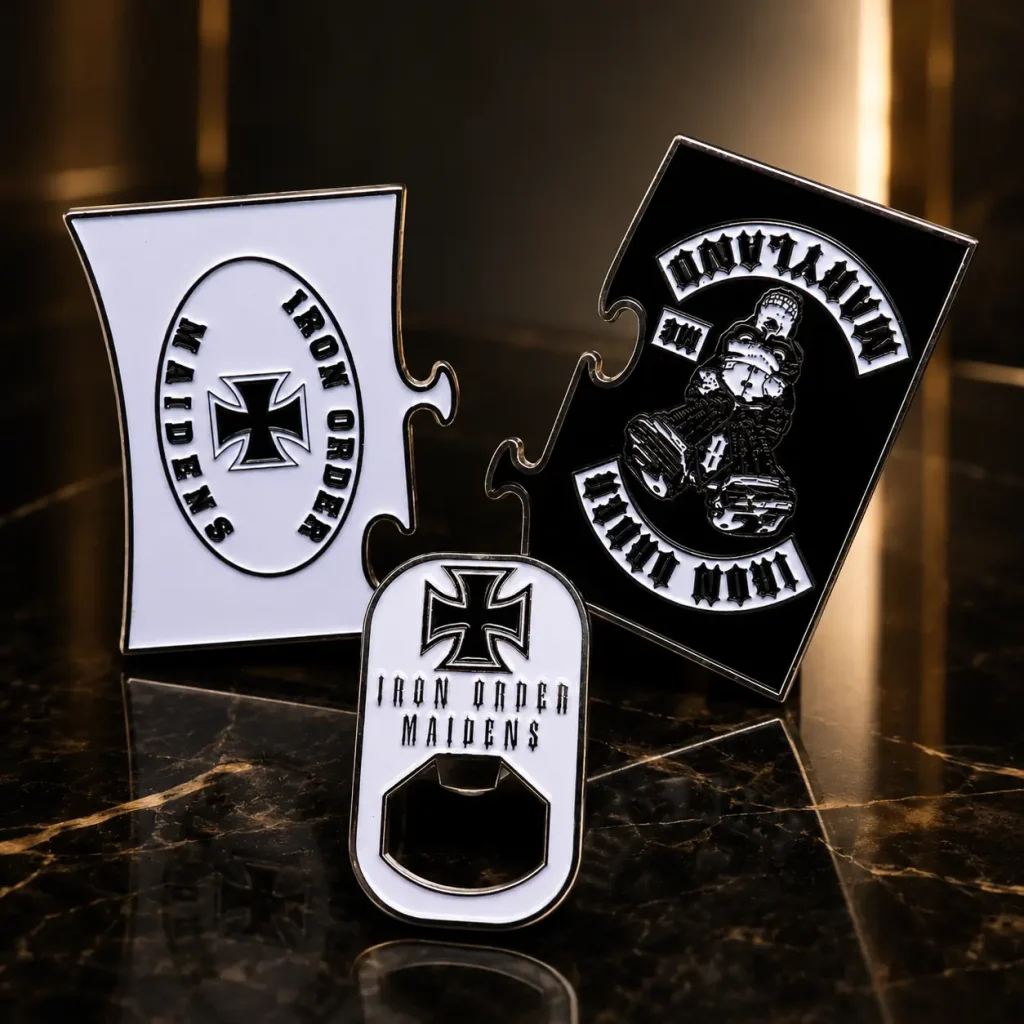
If your logo, crest, map, building, vehicle, or mascot already has a strong outline, you can also choose a custom shape, such as a shield, badge shape, star, state outline, building outline, or bottle opener coin.


2. Material and Thickness
Common challenge coin materials include zinc alloy, brass, and iron.
Zinc alloy is the most common option. It gives a good balance between price and detail, and works well for most custom challenge coins.
Brass feels heavier and more premium, making it a good choice for higher-end coins, collector coins, or medal-style designs. It does cost more.
Iron is lighter and more budget-friendly, so it can be a good option for cost-sensitive projects.
Thickness affects how the coin feels in your hand.
3mm is a common standard thickness. It feels solid without being too heavy.
If you want a heavier, more premium feel, you can choose 4mm or 5mm.
If your budget is tighter and the design is simple, 2mm can also work, but the coin will feel lighter.

3. 2D / 3D, Plating, and Colors
Whether you choose 2D or 3D depends on the artwork.
2D works well for logos, text, crests, shields, borders, and simple graphics. It keeps the design clean and easy to read.
3D is better for faces, animals, buildings, vehicles, mountains, monuments, or artwork that needs more depth.
Not every coin needs to be fully 3D. A common approach is to make the main subject, such as a person, building, or center artwork, in 3D, while keeping the text, border, and background in 2D. This helps the main design stand out without making the coin look too busy.

Plating also changes the overall look of the coin.
Gold, antique gold, and antique silver feel more classic and formal. Silver and black nickel look cleaner and more modern. Antique copper works well for vintage or commemorative designs.

For colors, the most important thing is readability. More colors do not always make a better coin. The text and background need enough contrast, especially for small text, edge text, and crest details. If the colors are too close, the finished coin may be hard to read.

4. Edges and Special Details
Edges can add detail, but not every coin needs a decorative edge.
If the center design is simple, a rope edge, oblique edge, or cross-cut edge can add a nice finished look.
If the design already has a lot of text, colors, 3D relief, or cutouts, a simple flat edge may look cleaner.

Special details are the same way. Add them only when they actually help the design.
For example:
- Limited edition or collector coins can use laser numbering
- A motto, year, or unit name can be added as edge engraving
- Gradients, photos, or complex artwork may work better with UV printing
- Fire, water, gemstones, or special backgrounds can use translucent enamel
- Glow-in-the-dark, glitter, cutouts, or dual plating can be used for a more creative look
If you are working with a limited budget, focus first on the right size, clear artwork, and a solid overall feel. Extra effects can always be added when they truly support the design.

You can use the table below to quickly organize your design plan:
| Design Option | What to Decide | Simple Recommendation |
|---|---|---|
| Purpose | Award, memorial, team coin, event coin, gift, or collectible | Start with the meaning and use of the coin. |
| Size | 1.5″, 1.75″, 2″, 2.5″ or larger | 1.75″ is a standard choice; 2″ is better for more detail. |
| Shape | Round, shield, badge, star, custom outline, or bottle opener shape | Match the shape to your logo, theme, or function. |
| Thickness | 2 mm, 3 mm, 4 mm, or 5 mm | 3 mm is the safest standard choice for most custom challenge coins. |
| 2D or 3D Design | Flat relief, raised metal areas, or sculpted relief | Use 2D for logos and text; use 3D for portraits, animals, buildings, and detailed relief. |
| Plating | Gold, silver, antique gold, antique silver, antique copper, black nickel, or dual plating | Antique plating works well for detailed 3D relief; shiny plating suits clean modern designs. |
| Colors | Soft enamel, hard enamel, translucent enamel, glow, glitter, or UV printing | Use enamel for solid colors and UV printing for gradients or photo-style details. |
| Edge Style | Flat edge, rope edge, oblique line edge, cross-cut edge, wave edge, or custom edge | Keep the edge simple if the main artwork is already complex. |
| Special Details | Edge engraving, serial numbers, cut-outs, bottle opener function, or special enamel effects | Add special details only when they support the purpose and overall design. |
Step 3: Send Us Your Artwork and Revision Notes
Once you have chosen the size, shape, and design options, you can send your idea to us.
You can upload your logo, sketch, reference images, or simply tell us what you want on the coin through our online quote form. Even if you do not have a finished design, that is completely fine. VeperPins offers free artwork design, and our team can quickly turn your notes and references into a coin design that is ready for production.
After the artwork is ready, we will send it to you for review. You can check the text, colors, layout, artwork placement, and overall look. If anything needs to be changed, just let us know. Before production starts, we offer free revisions until you are happy with the design.
We only start production after you approve the artwork and order details, so your custom challenge coins are made as close as possible to the design you approved.
Challenge Coin Design Mistakes to Avoid
Even if the design looks good on screen, some details may not work well on a real metal coin. Before approving your artwork, try to avoid these common challenge coin design mistakes:
- Adding too much text to a small coin
- Using very thin lines or tiny details
- Choosing too many colors in small areas
- Using gradients without UV printing
- Choosing shiny plating for very detailed 3D relief
- Forgetting to check the front and back orientation
- Using a low-resolution logo
- Making the coin look good on screen but unclear at real size
- Choosing a complex edge when the main artwork is already busy
Ready to Create Your Custom Challenge Coin?
Designing a custom challenge coin may seem like it involves many choices, but the process does not have to be complicated. As long as you have a logo, sketch, reference image, or simple idea, VeperPins can help you refine the size, shape, plating, colors, 2D or 3D effects, and other design details.
If you already have a clear direction, you can submit your artwork directly and request a quote. If you are still not sure which options to choose, you can contact us for suggestions. Based on your purpose, budget, and artwork complexity, we will help you create a custom challenge coin that looks great, carries real meaning, and is practical to manufacture.
Challenge Coin Design FAQs
Here are a few common questions about enamel colors, artwork approval, and important design details before producing custom challenge coins.
1 How many enamel colors can be used on one challenge coin?
A challenge coin can use many enamel colors, and there is no strict fixed limit. Enamel colors are usually matched according to Pantone color codes. We have produced a custom challenge coin with 27 colors for a customer. However, more colors usually mean a higher price and greater production difficulty. If the design has many small color areas, a larger coin size is recommended for a clearer and better-looking result.
2 Will the challenge coin artwork look exactly the same as the final product?
Not 100% exactly, but the final product will be made as close as possible to the approved artwork. The design proof is mainly used to confirm the layout, text, color areas, and production details before manufacturing. During production, slight differences may happen, such as enamel color variation, plating color differences, metal shine, or small detail changes. These are normal in custom metal production.
3 What design details can affect the final look of a challenge coin?
The most common details that affect the final result are very small text, thin lines, complex color areas, and too many elements in one small space. If the design is detailed, we usually recommend increasing the coin size or simplifying some small parts. This helps keep the text readable, the enamel colors cleaner, and the metal lines more defined.


